
If you’ve ever found yourself mesmerized by the lush green tendrils of a pothos plant, then you already know the undeniable charm of this beloved houseplant. With its low-maintenance nature and air-purifying qualities, the pothos has become a favorite among both experienced and aspiring plant enthusiasts. But did you know that propagating a pothos is like unlocking a secret realm of endless greenery?
Welcome to our horticultural adventure as we delve into the captivating art of propagating pothos in eight simple steps. Whether you’re a seasoned gardener or a novice with a budding green thumb, learning to propagate a pothos will fill you with a sense of wonder and achievement. This delightful process allows you to multiply your plant collection, share the love of gardening with others, or simply enjoy the magical experience of nurturing new life.
So, prepare your pruning shears and roll up your sleeves as we embark on a journey of plant propagation that will spark joy and elevate your connection with nature. Let’s uncover the secrets to propagate a pothos plant and watch your indoor garden flourish like never before!
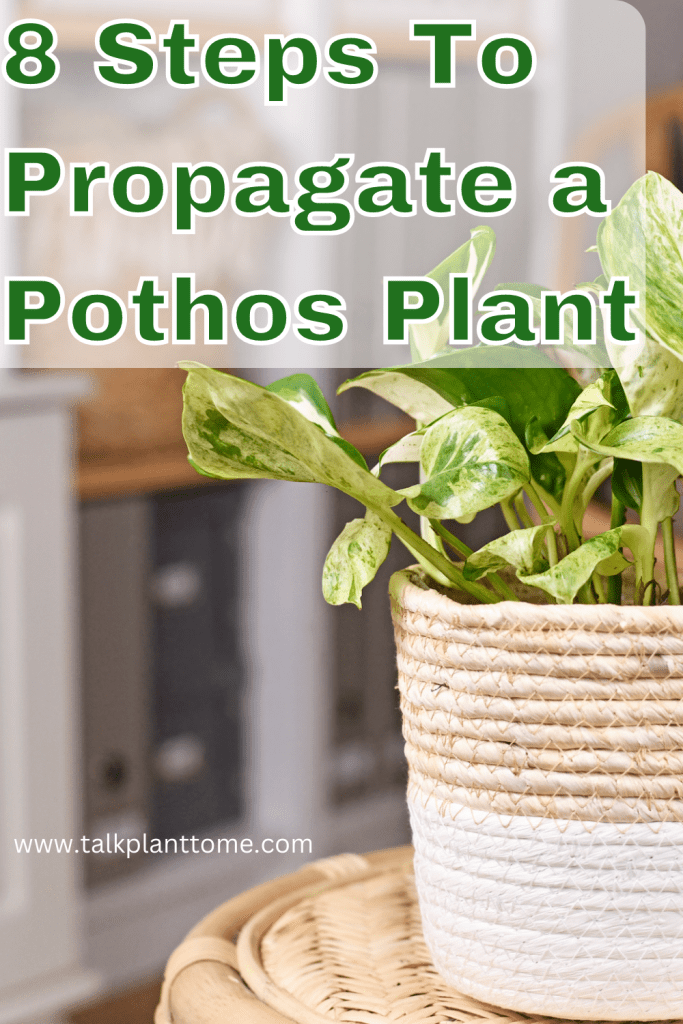
8 Steps To Propagate a Pothos Plant
How to propagate Pothos plants:
Here are eight simple steps to propagate a pothos plant successfully:
Materials you’ll need:
- Healthy pothos plant with mature stems
- Clean sharp scissors or pruning shears
- Clean container with water (optional) or a small pot with well-draining soil
- Rooting hormone (optional)
- Clear plastic bag (optional)
Step 1: Select a Healthy Parent Plant Choose a mature pothos plant with long, healthy stems. Look for stems that are at least a few inches long and have several healthy leaves.
Step 2: Choose the Right Cutting Identify a healthy stem that has at least two to three leaves. Make sure it is long enough to be cut into individual sections of around 4 to 6 inches.
Here are some tips to help you identify the best cutting for propagation:
- Look for Healthy Growth: Choose a stem that exhibits healthy growth with vibrant green leaves and no signs of pests or diseases. Avoid stems with yellowing, wilting, or damaged leaves.
- Select a Mature Stem: Opt for a mature stem that is long enough to be cut into sections of around 4 to 6 inches. Mature stems are more likely to have developed the necessary nutrients and energy to support root growth.
- Choose a Node with Leaves: Nodes are crucial for root development. Look for a cutting that has at least one or two nodes with healthy leaves. Nodes are the small, bumpy areas on the stem where leaves and roots emerge.
- Avoid Stems with Flower Buds: Pothos plants rarely bloom indoors, but if you notice flower buds on the cutting, it’s best to avoid propagating that stem. Pothos put more energy into flowering, which might hinder root development in the cutting.
- Check for Leggy Growth: Leggy growth refers to long, spindly stems with sparse leaves. Avoid such cuttings as they may struggle to develop robust roots and might not thrive as well.
- Consider the Parent Plant’s Health: Propagate from a parent plant that is healthy and thriving. A strong and vigorous parent plant is more likely to produce healthy cuttings that will establish roots successfully.
- Seasonal Timing: While pothos can be propagated throughout the year, it’s generally best to propagate during the active growing season (spring or early summer) when the plant’s growth is at its peak.
- Multiple Cuttings: If you have several healthy stems to choose from, consider taking multiple cuttings. This increases the likelihood of success, and you can experiment with different propagation methods or conditions.
Step 3: Cut the Stem Using clean scissors or pruning shears, cut the selected stem just below a node. Nodes are the small bumps on the stem where leaves and roots grow. This is where the new roots will develop.
Step 4: Remove Excess Leaves Carefully remove the lower leaves on the cutting, leaving at least two or three leaves near the tip. This will help the cutting focus its energy on root development.
Step 5: Optional – Apply Rooting Hormone (If Using) Dip the cut end of the stem into rooting hormone. This can encourage faster root growth, but it is optional and not necessary for pothos, as they tend to root easily without it.
Step 6: Choose a Propagation Method There are two common methods for propagating pothos:
Water Propagation: Place the cutting in a container with water, ensuring the nodes are submerged. Change the water every few days to keep it fresh.
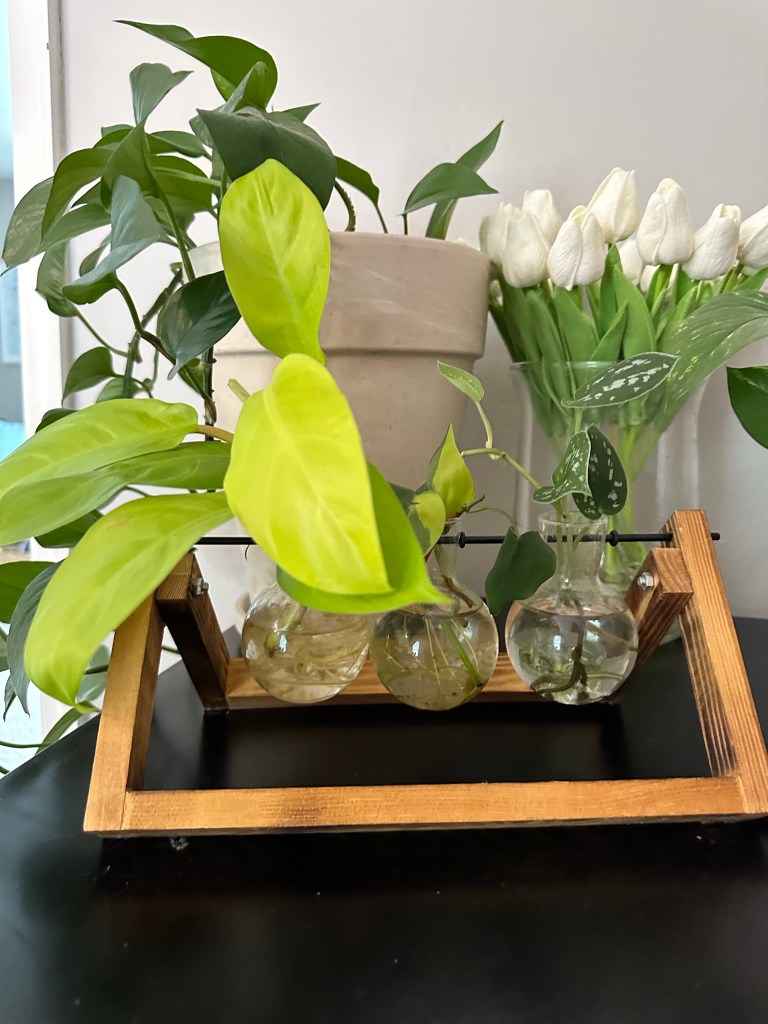
Benefits of water propagation:
- Ease and Simplicity: Water propagation is one of the simplest and most straightforward methods of propagating plants. It requires minimal materials and equipment, making it accessible even for beginners or those with limited gardening experience.
- Visibility of Root Growth: When propagating in water, you can easily observe the development of the roots. This allows you to see the progress and ensure that the roots are forming properly before transferring the cutting to soil.
- Faster Root Development: In many cases, water propagation can lead to faster root development compared to soil propagation. The water provides direct access to moisture, which can encourage the roots to grow more rapidly.
- Reduced Risk of Overwatering: With water propagation, you can control the amount of water the cutting receives more precisely. It’s easier to avoid overwatering, which can be a common issue when propagating in soil.
- Minimal Risk of Soil-Borne Diseases: When roots develop in water, there is a lower risk of encountering soil-borne diseases that can affect young plants. This can result in a healthier and stronger plant once transferred to soil.
- Experimentation and Observation: Water propagation allows you to experiment with different cuttings and observe how they root and grow in water. You can test various cutting types or apply rooting hormones to see their effects.
- Higher Success Rate: Many houseplants, including pothos, tend to root well in water. This higher success rate can boost your confidence in propagating plants and encourage you to expand your collection through propagation.
- Aesthetic Appeal: Rooting cuttings in water can also be aesthetically pleasing. Watching the roots grow in a clear glass container adds a decorative element to your home while you await the cutting’s readiness for transplanting.
Soil Propagation: Plant the cutting in a small pot filled with well-draining potting soil, burying the node in the soil.
Benefits of soil propagation:
- Smooth Transition to Soil Environment: When propagating in soil, the cutting adapts more seamlessly to its eventual growing environment. This makes the transition from cutting to a fully rooted plant in a pot more straightforward and less stressful for the plant.
- Continuous Nutrient Supply: Soil provides a natural source of nutrients that promote healthy root growth. As the cutting develops roots in the soil, it gains access to essential nutrients necessary for overall plant development.
- Greater Stability and Support: Once rooted in the soil, the cutting gains stability and support for future growth. The soil anchors the plant in place, reducing the risk of falling or shifting that may occur when propagating in water.
- Faster Establishment as a Potted Plant: After transferring the rooted cutting to a pot with soil, the plant can focus on above-ground growth and establish itself as a potted plant more quickly than in water.
- Less Risk of Transplant Shock: When transplanting a rooted cutting from water to soil, there is a risk of transplant shock as the plant adjusts to the change in growing medium. Soil propagation minimizes this risk since the plant is already accustomed to the soil environment.
- Suitability for Long-term Growth: Pothos, like most houseplants, thrive in soil for long-term growth. Propagating in soil sets the cutting up for success in its permanent growing medium, allowing it to develop into a healthy and vigorous plant.
- Opportunity for Root Pruning: While propagating in soil, you can occasionally check the roots’ development. If the roots become too long and tangled, you have the opportunity to perform root pruning, encouraging a healthier root system.
- Encourages Self-Sufficiency: Rooting a cutting directly in soil allows the plant to establish its own root system early on. This promotes self-sufficiency and reduces the need for constant monitoring, unlike water propagation, where the roots need to be transferred to soil eventually.
Step 7: Provide Proper Care For water propagation, place the container in a location with bright, indirect light. For soil propagation, keep the potted cutting in a similar light condition. Water the cutting as needed to keep the soil slightly moist but not waterlogged.
Step 8: Wait for Root Growth Be patient and allow time for the roots to develop. It usually takes a few weeks for the pothos cutting to develop a healthy root system. Once the roots have grown a few inches long, the new plant is ready to be potted up into its permanent container.
With these eight simple steps, you can enjoy the process of propagating your pothos plant and watch your green thumb flourish as new plants take root and grow. Happy propagating!
Talk Plant To Me
If you enjoyed this article on 8 Steps To Propagate a Pothos Plant then you probably (hopefully!) will enjoy these articles as well:
