
Hello, plant enthusiasts and aspiring green thumbs! If you’ve ever wondered how the magic of plant propagation works, you’re in for a treat! Today, we’re diving into the wonderful world of snake plants (Sansevieria) and learning the art of propagating them in soil – it’s like nurturing nature’s own clones!
Snake plants, with their striking sword-like leaves and air-purifying superpowers, have stolen the hearts of indoor gardeners everywhere. But what if we told you that you could multiply your snake plant collection without spending a fortune at the nursery? That’s right – with just a bit of know-how and a touch of patience, you can turn one healthy snake plant into an entire family of these resilient beauties!
Whether you’re a seasoned plant parent looking to expand your green kingdom or a newbie ready to embrace the joy of plant propagation, this guide is here to walk you through the process step-by-step. We’ll be getting our hands dirty, having a little fun, and witnessing the miracle of growth right before our eyes.
So, grab your gardening gloves, put on your favorite playlist (plants love music too, right?), and let’s dig into the art of propagating snake plants in soil. By the end of this journey, you’ll be able to proudly say, “I propagated that!” – and trust us, it’s a feeling that’ll make your heart bloom as beautifully as your plants! Let’s get started, green fingers unite!
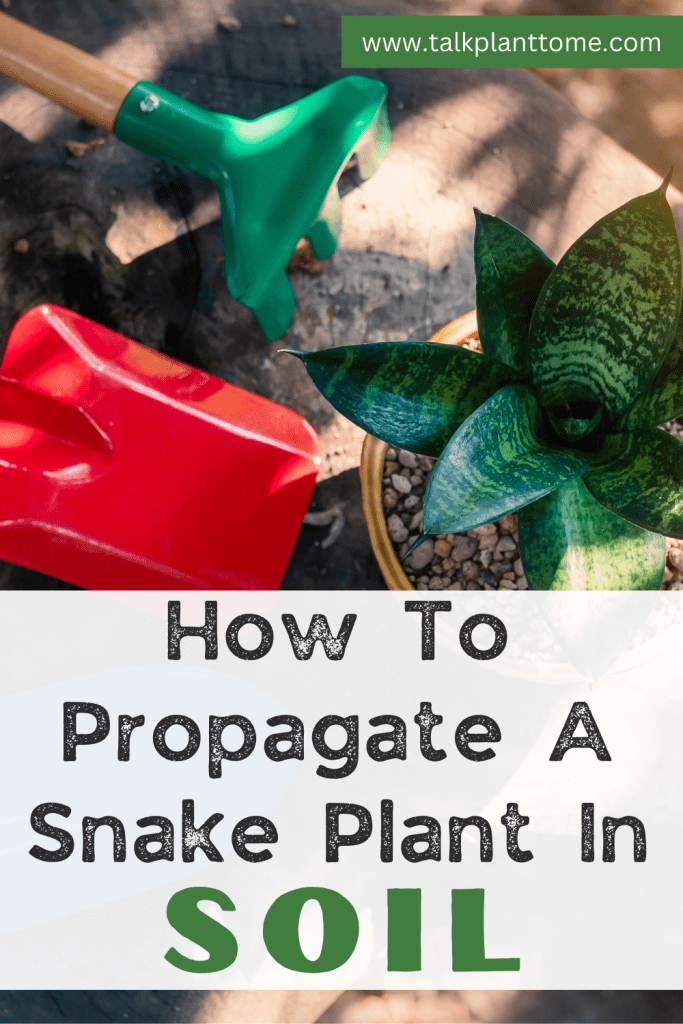
How To Propagate A Snake Plant In Soil
Steps for propagating snake plants in soil:
Here’s a step-by-step guide to help you propagate your snake plant in soil:
Materials you’ll need:
- Healthy snake plant with mature leaves
- Sharp, clean knife or garden shears
- Well-draining potting soil
- A small pot with drainage holes
- Spray bottle with water (optional)

Step-by-step process:
- Choose a healthy snake plant: Select a mature snake plant with at least a few well-established leaves. Healthy leaves will have a vibrant green color and no signs of damage or disease.
- Prepare your pot: Get a small pot with drainage holes at the bottom. Proper drainage is crucial for snake plants to avoid overwatering and root rot.
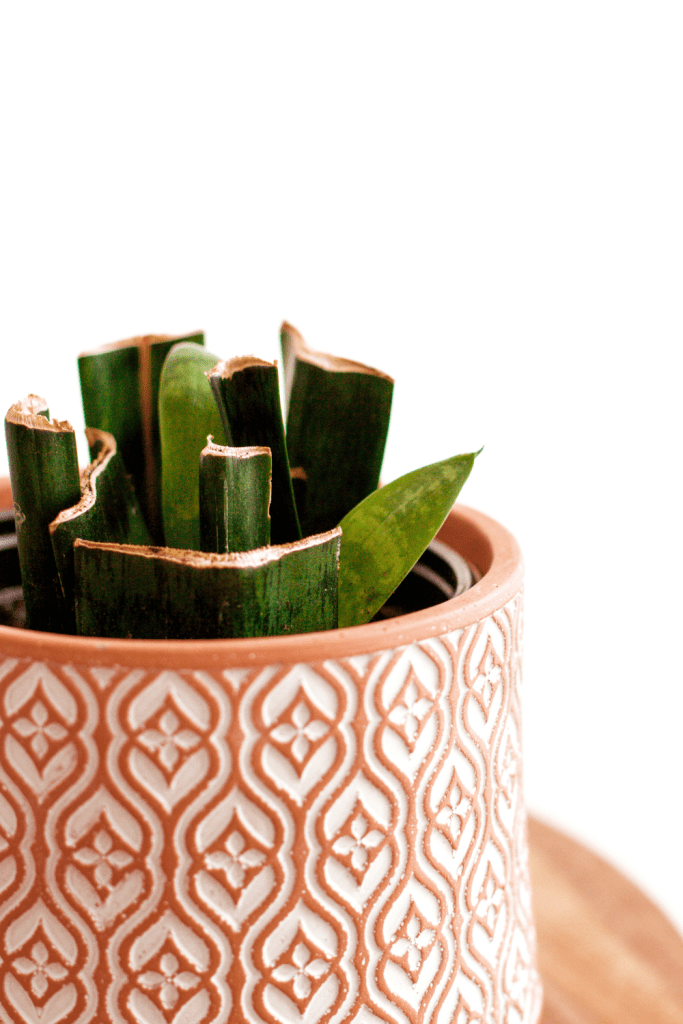
- Cut the leaves: Using a sharp, clean knife or garden shears, cut a healthy leaf from the mother plant. Choose a leaf that is at least 2-3 inches long and make a clean cut at the base, ensuring no part of the leaf is left on the mother plant.
- Leave the cutting to dry: Allow the cut end of the leaf to dry for a few hours or overnight. This helps to prevent rot when you plant it in the soil.
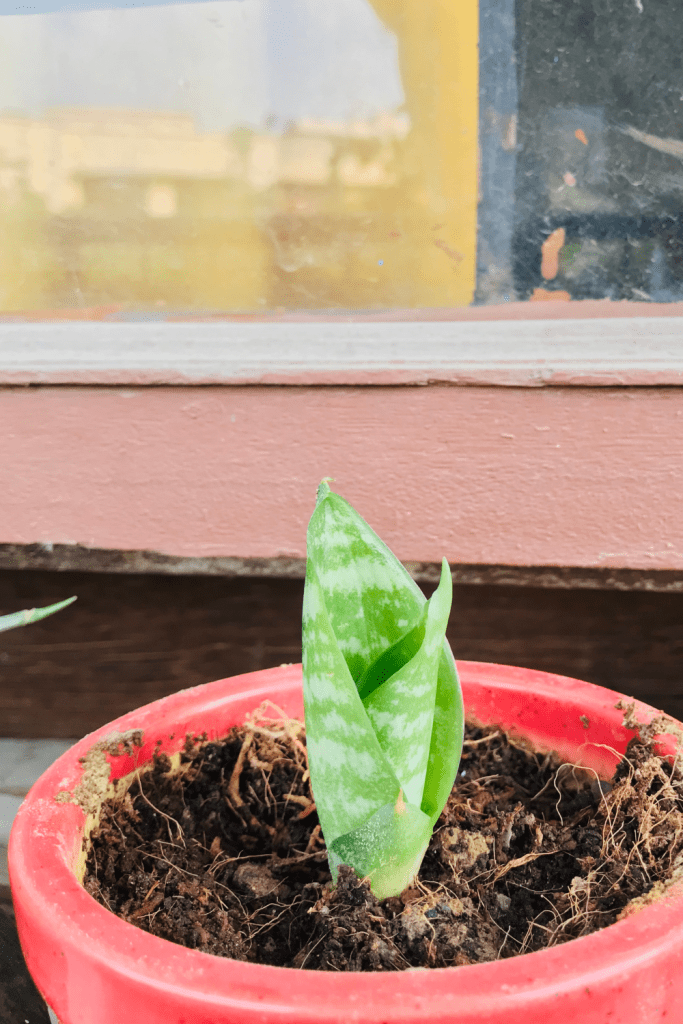
- Plant the cutting: Fill the small pot with well-draining potting soil, leaving some space at the top. Make a small hole in the soil using your finger or a pencil and gently place the dried end of the snake plant leaf into the hole.
- Water the cutting: Give the soil around the cutting a light watering, making sure not to over-saturate it. You can use a spray bottle for a gentle misting or water directly near the base of the leaf.
- Provide proper care: Place the pot in a warm, bright location with indirect sunlight. Avoid exposing the new cutting to direct sunlight as it may scorch the leaf. Keep the soil slightly moist but not overly wet, as snake plants prefer drier conditions.
- Be patient: It takes time for the cutting to develop roots and grow into a new plant. During this period, avoid disturbing the cutting, and in a few weeks to a couple of months, you should start seeing new growth and root development.
- Transplanting: Once the new plant has established its own roots and has grown to a reasonable size, you can consider transplanting it into a larger pot with a well-draining soil mix suitable for snake plants.
And there you have it – your very own propagated snake plant.
Want some more propagation tips and tricks? Then keep reading!
General tips for propagating plants:
- Choose Healthy Parent Plants: Start with healthy, disease-free, and pest-free parent plants. Healthy parent plants will produce strong and viable cuttings, giving your propagated plants a better chance of thriving.
- Select the Right Season: Timing is crucial for successful propagation. In general, the beginning of the growing season (spring or early summer) is the best time to propagate most plants. This is when plants have the highest levels of growth hormones, which aids in root development.
- Use Sharp Tools: Always use clean and sharp pruning shears or knives to take cuttings. Clean tools help prevent the spread of diseases, while sharp cuts ensure a clean and healthy wound on the parent plant.
- Take Appropriate Cuttings: Different plants require different types of cuttings for successful propagation. For most plants, take stem cuttings that are 4-6 inches long, with a few leaves intact. Remove any flowers or buds, as they can divert energy from root development.
- Remove Lower Leaves: For stem cuttings, remove the lower leaves that will be below the soil line. This prevents rot and fungal issues while encouraging root growth.
- Use a Good Propagation Medium: Choose a well-draining propagation medium suitable for the type of plant you’re propagating. Options include a mix of potting soil, perlite, vermiculite, or a specialized propagation mix.
- Rooting Hormone (Optional): Consider using a rooting hormone to encourage root development in some plants. While not always necessary, it can speed up the process and increase the success rate.
- Provide Adequate Moisture: Keep the propagation medium consistently moist but not waterlogged. Use a spray bottle for misting or water from the bottom by placing the containers in a tray of water.
- Control Light Exposure: Most cuttings root best in bright, indirect light. Too much direct sunlight can cause stress and scorching, while too little light may hinder root development.
- Maintain Humidity (For Leaf Cuttings): If propagating from leaf cuttings, create a mini-greenhouse effect by covering the cuttings with a transparent plastic bag or a cloche to maintain high humidity.
- Be Patient: Propagation takes time, and it’s essential to be patient. Some plants root quickly, while others may take several weeks or even months. Keep a watchful eye on your cuttings, and don’t be discouraged if it takes time to see progress.
- Transplanting with Care: Once your cuttings have established roots, gently transplant them into individual pots with regular potting soil. Be gentle to avoid damaging the delicate roots.
Talk Plant To Me
If you enjoyed this article on How To Propagate A Snake Plant In Soil then you probably (hopefully!) will enjoy these as well:
