If you are wanting endless free plants you probably have discovered the awesome world of propagation! There’s something so satisfying about snipping off a little piece of your plant and watching it grow into a brand-new baby plant. But to get those successful new growths, finding the right spot to cut—aka the node—is key. It’s not always as simple as just cutting anywhere on the stem and hoping for the best. Nope, you’ve got to find the perfect node.
So, if you’re ready to dive into the wonderful world of propagation and aren’t quite sure how to find that magic spot, here are 8 tips to help you locate the best node on your plants for propagation success. Let’s get snipping!
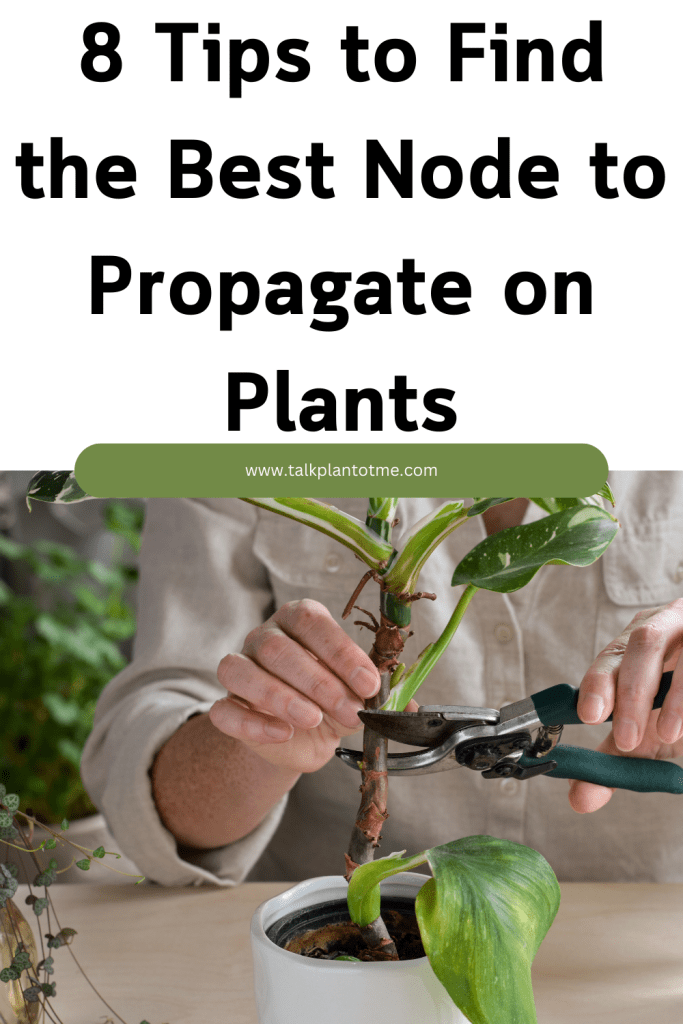
8 Tips to Find the Best Node to Propagate on Plants
How to find the best node to propagate:
1. Know What a Node Is
Before you start looking for the best node to propagate, it’s important to understand what a node actually is. If you’re like I was in the beginning, you might be wondering, “What even is a node?” A node is basically where all the action happens on a plant’s stem. It’s the spot where new leaves, roots, or branches grow from. You can usually spot them as small bumps or swollen parts of the stem, and they’re often located right below where a leaf attaches. These nodes are where the magic happens when it comes to propagation because they contain the plant’s growth hormones that trigger root development.
So, the first step is to become familiar with what nodes look like on your specific plant. Different plants have slightly different node appearances, but once you know what to look for, you’ll be able to spot them easily.
2. Choose a Healthy and Active Node
Now that you know what a node is, the next step is to find a healthy one. Not all nodes are created equal when it comes to propagation, and you’ll have better luck if you choose a healthy, active node. Look for nodes that are firm and green. A good rule of thumb is to look for a node that already has some new growth happening, whether that’s a leaf or a tiny stem starting to form. This shows that the node is active and primed for growth, making it more likely to develop roots when you propagate.
Avoid nodes that look dried out or damaged, as these are less likely to root successfully. A healthy, active node is your best bet for a thriving new plant.
3. Pick Nodes Close to the Base of the Plant
When propagating, especially with plants like pothos, philodendrons, or monsteras, it’s a good idea to choose a node that’s close to the base of the plant. The reason for this is simple: nodes closer to the base tend to be more mature and have a higher concentration of growth hormones, which can help the cutting develop roots more quickly.
Cutting too far up on the plant might leave you with a weaker, less mature node that takes longer to root (or might not root at all). Plus, using a node near the base can help keep the overall structure of your plant looking tidy after you’ve taken your cutting.
4. Look for a Node With an Aerial Root
One of my favorite tips for propagating plants is to look for a node that already has a little aerial root forming. Aerial roots are those little roots that sometimes grow above the soil, typically along the stem of certain plants like monsteras and pothos. If you find a node with an aerial root, you’re basically getting a head start because that root is ready to dive into soil or water and start growing.
Choosing a node with an aerial root increases your chances of successful propagation since the plant is already in “root-growing mode.” When you place the cutting in water or soil, that little aerial root will start developing into a full-fledged root system in no time.
5. Cut Just Below the Node
Once you’ve found the perfect node, it’s important to make your cut in the right spot. The best place to cut is just below the node. This way, the node is included in your cutting, and that’s what will eventually grow roots. If you cut too far below or too far above the node, you won’t have the right growth point to stimulate new roots.
Make sure you use sharp, clean scissors or pruning shears when making your cut to avoid damaging the plant. A clean cut encourages healthier growth and prevents infection or rot from forming on the mother plant or the cutting itself.
6. Consider Multiple Nodes for Extra Insurance
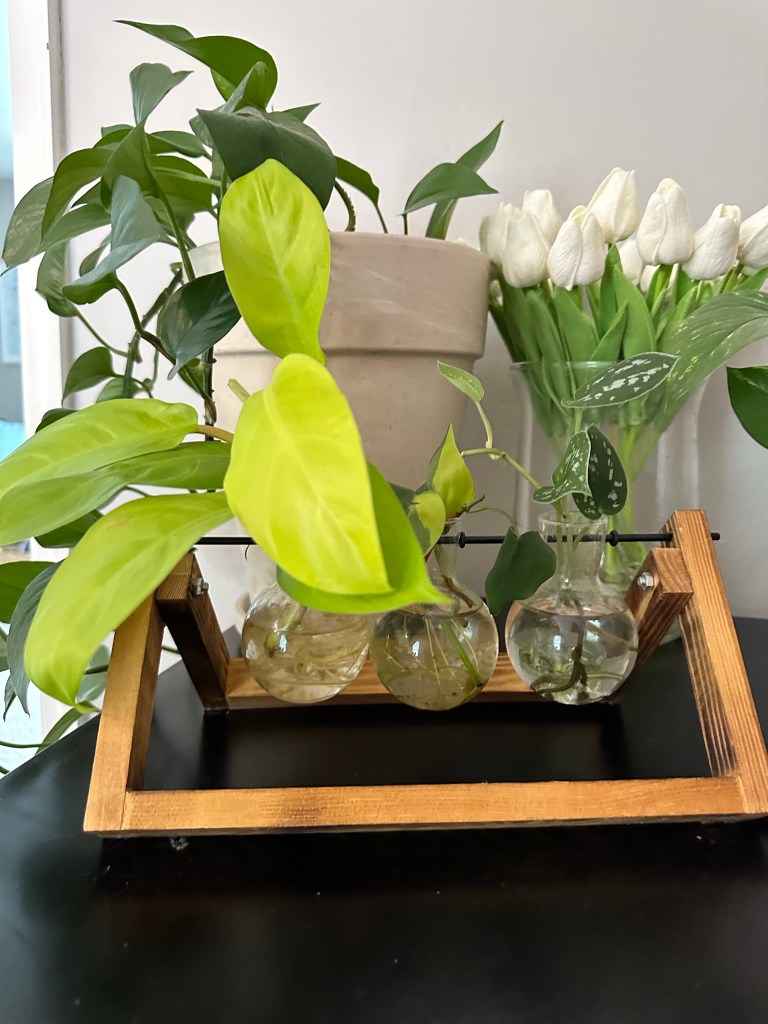
If you’re propagating and really want to make sure your cutting takes off, consider including multiple nodes in your cutting. This is especially helpful if you’re propagating in water or soil and aren’t sure if all the nodes will root. By cutting a longer section of the stem with two or more nodes, you increase the chances that at least one of them will successfully develop roots.
For example, if you’re propagating a pothos, you can take a cutting with two or three nodes, place it in water, and watch to see which nodes root first. Sometimes, having multiple nodes on one cutting also gives your new plant a fuller look once it’s established.
7. Remove Any Leaves Below the Node
When you’ve made your cut, it’s important to remove any leaves that are below the node. Leaves submerged in water or buried in soil can rot, which creates the perfect environment for bacteria and can harm your cutting. Rotten leaves can lead to root rot or even kill your new plant before it gets a chance to thrive.
To avoid this, simply snip off any leaves that are close to the node you’re planning to submerge. Keep any leaves above the node intact, though, as they’ll help your plant continue photosynthesizing while it’s developing new roots.
8. Be Patient and Monitor Progress
Now that you’ve selected the perfect node, made your cut, and removed any leaves below the node, all that’s left is to wait! Propagation is definitely an exercise in patience. Some plants take just a few days to start showing signs of root growth, while others can take a few weeks.
Place your cutting in water or soil, making sure the node is submerged but the leaves stay above the waterline or soil. Then, place the cutting in a spot with bright, indirect light. Over time, check for roots and give your cutting fresh water every few days to prevent bacteria buildup if you’re propagating in water.
As the roots start to grow, you can either transfer the cutting to soil or keep it growing in water, depending on your preference. Just be sure to monitor its progress and provide the right conditions to encourage healthy root development.
Now let’s wrap it up-
Finding the right node to propagate your plants doesn’t have to be complicated, and it’s honestly one of the most fun and rewarding parts of being a plant parent. With these tips, you’ll be well on your way to successfully growing new plants from your favorite cuttings. Whether you’re propagating pothos, philodendrons, monsteras, or any other plant, the key is to look for healthy nodes, make clean cuts, and be patient as you watch your new plant baby grow.
Propagation is all about trial and error, so don’t worry if things don’t go perfectly the first time. Keep experimenting, and before you know it, you’ll have a whole new collection of plants to care for. Happy propagating!
Talk Plant To Me
If you enjoyed this article on 8 Tips to Find the Best Node to Propagate on Plants then you probably (hopefully!) will enjoy and find these articles helpful as well:
