
So, you’ve decided to grow an apple tree from a seed. First of all, congrats on having the guts to try this journey! You’re officially one step closer to living your best fruit growing life, and I fully support this wholesome, green-thumb endeavor. But before you start picturing yourself frolicking through rows of blossoming apple trees like a Pinterest board come to life, let me hit you with some truth: growing apple trees from seeds is not for the impatient.
So here’s the real deal: apple trees grown from seeds are a little unpredictable.
The apples you eventually get (yes, eventually, because this process takes years) probably won’t taste exactly like the one you ate. But hey, that’s part of the adventure, right? If you’re up for the challenge, let’s dive into this realistic (and fun) guide to turning your apple seeds into full-blown trees.
Personally spending years working at an apple orchard taught me so much about this process and Im excited to share but let’s keep patience and grace with ourselves at the forefront of this journey!
Realistic Guide To Growing Apple Trees From Seeds
Grow apple tree from a seed guide:
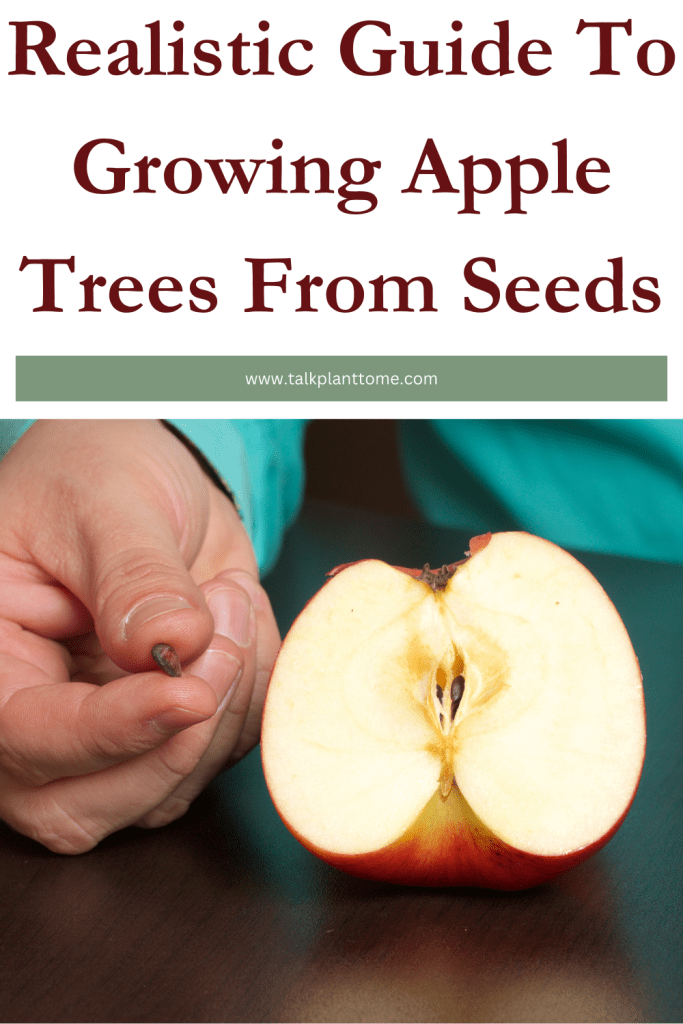
1. Start with the Right Apple Seeds
First things first: grab your favorite type apple. Yes, the kind you snack on!
The seeds inside are all you need to get started. Any variety will do, but if you’re dreaming of a Honeycrisp tree, just know you’re playing a genetic lottery here. Apple seeds don’t produce clones of the parent tree aka they’re wild cards, and their fruit could be better, worse, or just plain weird. Many specific types are genetically engineered flavors (honey crisp specifically was invented at the university of minnesota- love my home state!) that will never “naturally” occur.
Eat the apple, save the seeds, and give them a quick rinse to remove any lingering fruit bits. Congrats my gardening friends, you’re already on step one of your apple tree journey.
2. Stratification: AKA mimic Winter Without Freezing Your Seeds
Apple seeds won’t just sprout because you say “please.” They need a little trickery—specifically, a process known as stratification. This mimics winter conditions and convinces the seeds it’s time to wake up and grow.
Here’s how to do it:
- Grab a damp paper towel and wrap your seeds in it.
- Pop them into a resealable plastic bag and label it (because you will forget what’s in there two weeks from now).
- Stick the bag in your fridge for 6-8 weeks. Yep, you read that right—weeks. Growing apple trees is a long game, my friend.
Check on your seeds occasionally to make sure the paper towel stays damp but not soggy. If you see little roots starting to sprout, pat yourself on the back because you’ve got yourself some germinating apple seeds!l
3. Plant Your Sprouted Seeds in Pots
Once your seeds have sprouted, it’s time to plant them. Grab some small pots, fill them with a good potting mix, and plant each seed about an inch deep. Give them a good drink of water and place the pots in a sunny spot.
Pro tip: Don’t go overboard with watering. Apple seeds like moist soil, but soggy soil is a no-go. Think of it as like the Goldilocks rule of gardening, it’s gotta be just right.
Your little seedlings will start to pop up in a few weeks, and trust me, it’s the most exciting thing ever. You’ll feel like a proud plant parent.
4. Be Patient (Like, REALLY Patient)
Here’s where I remind you that apple trees take years to grow. Like, 6-10 years before you’re biting into a homegrown apple. But don’t let that scare you off! Watching your tree grow is half the fun and it gives you plenty of time to research apple pie recipes 😉
In the meantime, keep your seedlings happy with lots of sunlight, regular watering, and a little pep talk now and then. They’ll eventually outgrow their pots, and when they do, it’s time to transplant them outdoors.
5. Find the Perfect Spot in Your Yard
Apple trees need full sun and good drainage, so pick a spot in your yard that gets at least 6-8 hours of sunlight daily. Dig a hole that’s twice as wide as the root ball (your tree’s roots need room to stretch) and plant your seedling.
Give it plenty of water after planting, and don’t forget to add a layer of mulch around the base. Mulch helps retain moisture and keeps weeds from stealing your tree’s nutrients. Basically, it’s like a cozy blanket for your tree.
6. Prune Like a Pro
Pruning might sound intimidating, but it’s essential for keeping your apple tree healthy and productive. Once your tree starts growing taller, grab a pair of pruning shears and remove any dead, damaged, or crossing branches.
Focus on creating an open, airy shape—like a vase—so sunlight can reach all parts of the tree. Pruning also helps your tree focus its energy on producing delicious fruit instead of random branches. Plus, it makes you look like a legit gardener, which is always a win.
7. Watch Out for Pests and Diseases
Apple trees are like magnets for pests and diseases, but don’t panic my proud gardener, you can totally handle this. Keep an eye out for common issues like aphids, apple maggots, and powdery mildew. If you spot a problem, treat it early with organic solutions like neem oil or insecticidal soap.
Regularly inspect your tree and remove any fallen fruit or leaves that could attract unwanted visitors. Think of it as a little TLC to keep your tree happy and thriving.
8. Harvest Time: The Moment You’ve Been Waiting For
After years of care, patience, and maybe a few frustrated rants about how long this takes, your apple tree will finally reward you with fruit. You’ll know your apples are ready when they’re fully colored and come off the branch with a gentle twist.
And let me tell you, there’s nothing like biting into an apple you grew yourself. It’s crisp, juicy, and tastes like sweet, sweet victory.
Talk Plant To Me
If you enjoyed this article on Realistic Guide To Growing Apple Trees From Seeds then you probably (hopefully!) will enjoy and find these articles helpful as well:
