
If you’re looking to expand your indoor jungle without spending a dime, propagating your Philodendron plant is a fantastic way to do it. Philodendrons are beloved for their lush, tropical foliage and easy care, making them perfect candidates for propagation. Whether you’re a seasoned plant parent or a newbie, propagating a Philodendron is a simple and rewarding process that allows you to grow new plants from cuttings.
In this article, we’ll walk you through the step-by-step process of propagating a Philodendron plant. From selecting a healthy parent plant and taking cuttings to rooting them in water and transitioning them to soil, we’ve got all the tips and tricks you need for successful propagation. Not only will you have more beautiful plants to decorate your space, but you’ll also experience the joy of nurturing new growth from a single cutting.
So, grab your gardening scissors and let’s get started! With a little patience and care, you’ll soon have a thriving collection of Philodendrons to share with friends or add to your own green sanctuary. Ready to dive into the world of plant propagation? Let’s go!
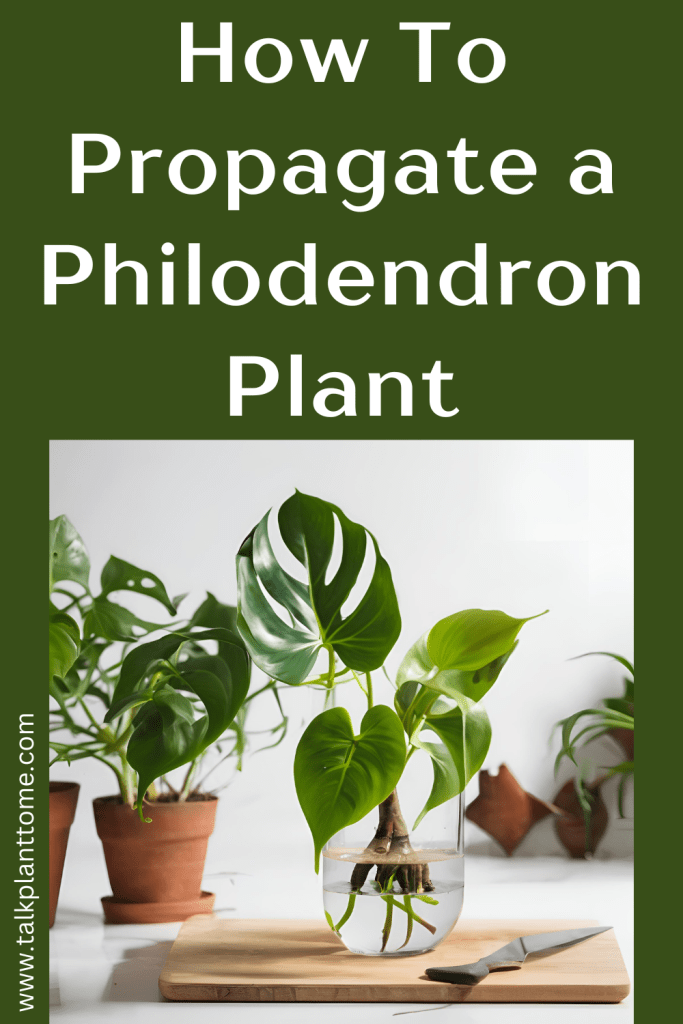
How To Propagate a Philodendron Plant
Steps for propagating philodendrons:
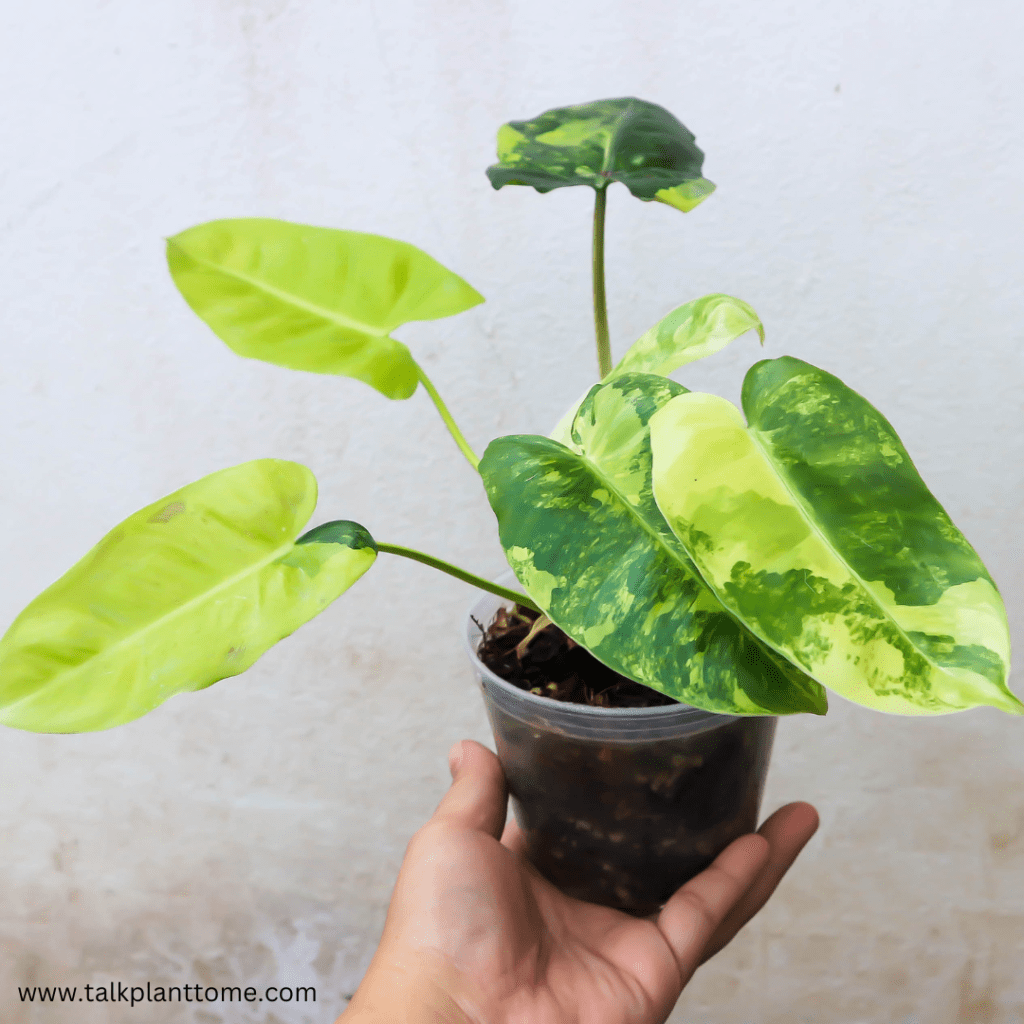
1. Choose a Healthy Parent Plant
- Selection: Start with a healthy, mature Philodendron plant. Look for a vine with several healthy leaves and at least one node (the knobby part where leaves and roots grow).
- Let’s chat about some additional tips for picking the best leaves to propagate:
- Maturity: Choose leaves from mature stems rather than new growth. Mature leaves tend to have more energy reserves, which can help the cutting root more effectively.
- No Damage or Disease: Select leaves that are free from damage, discoloration, or signs of disease. Healthy, undamaged leaves are more likely to root successfully.
- Pest-Free: Avoid leaves and stems with any signs of pest infestation. Pests can hinder the rooting process and spread to other plants.
- Multiple Nodes: If possible, choose a cutting with multiple nodes. This increases the chances of successful rooting and allows you to make multiple cuttings from a single stem.
- Active Growth: Cuttings taken from plants that are actively growing are more likely to root quickly. Look for new growth or plants that are in their growing season.
2. Prepare Your Tools and Materials
- Tools: You’ll need a sharp, sterilized pair of scissors or pruning shears. Emphasis on sharp – if you use too dull of a scissor or shear it can actually damage the plant as well as the cutting. Which also makes it less likely that the propagation will be successful.
- Materials: Gather a glass of water, a small pot with well-draining potting mix, and rooting hormone (optional).
3. Take a Cutting
- Identify a Node: Find a node on the vine, the node is a little nub that grows off of the vine of the plant. Usually you will find them in-between growing leaves. This is where roots will develop.
- Make the Cut: Using your sterilized scissors, cut a 4-6 inch section of the vine just below a node. Ensure the cutting has a few leaves attached.
4. Prepare the Cutting
- Remove Lower Leaves: If there are leaves near the bottom node, remove them to expose the node where roots will grow.
- Optional Rooting Hormone: Dip the cut end of the stem in rooting hormone to promote faster root development, though this step is optional.
5. Root the Cutting in Water
- Place in Water: Submerge the node of the cutting in a glass of water, ensuring the leaves stay above the waterline.
- Location: Place the glass in a bright, indirect light spot. Change the water every few days to keep it fresh and oxygenated. Want more info on changing propagation water? Then check out this article next: How Often To Change Propagation Water
6. Wait for Root Development
- Monitor Growth: Over the next few weeks, roots will start to develop from the node. Once the roots are about 1-2 inches long, the cutting is ready to be planted. If you wait too long though, being in water can cause the cutting to get root rot which will prevent it from growing into an actual plant even if you see long enough roots. You can spot root rot by checking for dark brown and “squishy” roots growing off of the cutting.
7. Plant the Rooted Cutting
- Prepare the Pot: Fill a small pot with well-draining potting mix. A mix of peat moss, perlite, and vermiculite works well for Philodendrons.
- Planting: Make a small hole in the soil and gently place the rooted cutting into it. Cover the roots with soil and firm it gently around the base of the cutting.
8. Care for the New Plant
- Watering: Water the newly planted cutting thoroughly and keep the soil consistently moist (but not waterlogged) for the first few weeks.
- Light: Place the pot in a location with bright, indirect light. Avoid direct sunlight, which can scorch the leaves.
- Humidity: Maintain high humidity around the plant by misting it regularly or placing a humidity tray nearby.
9. Monitor and Adjust Care
- Growth Check: After a few weeks, the cutting should start to show new growth. This indicates that it has established roots and is adapting well to its new environment.
- Regular Care: Continue to care for the new Philodendron plant as you would a mature plant, providing appropriate water, light, and occasional fertilization.
By following these steps, you can successfully propagate your Philodendron plant and enjoy the satisfaction of growing new plants from cuttings. Happy propagating!
Talk Plant To Me
If you enjoyed this article on How To Propagate a Philodendron Plant then you probably (hopefully!) will enjoy and find these articles helpful as well:

One thought on “How To Propagate a Philodendron Plant”