I don’t know about you, but my snake plant has been thriving (maybe a little too much) and it’s starting to burst out of its pot! If your snake plant is getting crowded and you’re seeing roots peeking out of the bottom or the plant is looking top-heavy, it’s probably time to give it a new home. Repotting might sound intimidating, but snake plants are super easygoing, and with just a few steps, you can keep yours happy and growing strong.
In this post, I’m going to walk you through exactly how to repot your snake plant without any fuss. Whether you’re a plant pro or just getting started with houseplants, these simple tips will help you repot like a pro and keep your snake plant thriving for years to come.
So let’s get into it so you can repot your beautiful snake plant so it can grow and thrive even more!
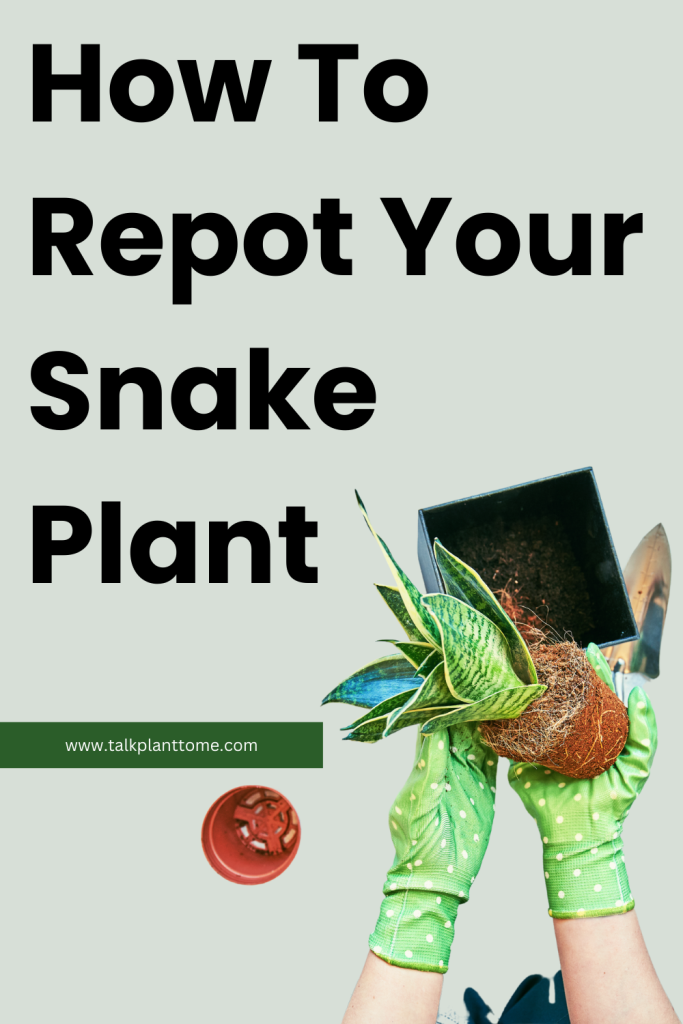
How To Repot Your Snake Plant
Steps for repotting a snake plant:
1. Decide When It’s Time to Repot
Snake plants generally don’t need frequent repotting and can thrive being slightly root-bound. However, if you notice roots growing out of the drainage holes or your plant’s growth has significantly slowed, it might be time to repot.
Another sign is if the plant is top-heavy and tips over easily due to the tight root ball. Ideally, repotting should be done in the spring or early summer when the plant is in its active growing phase, giving it a better chance to recover and thrive in its new pot.
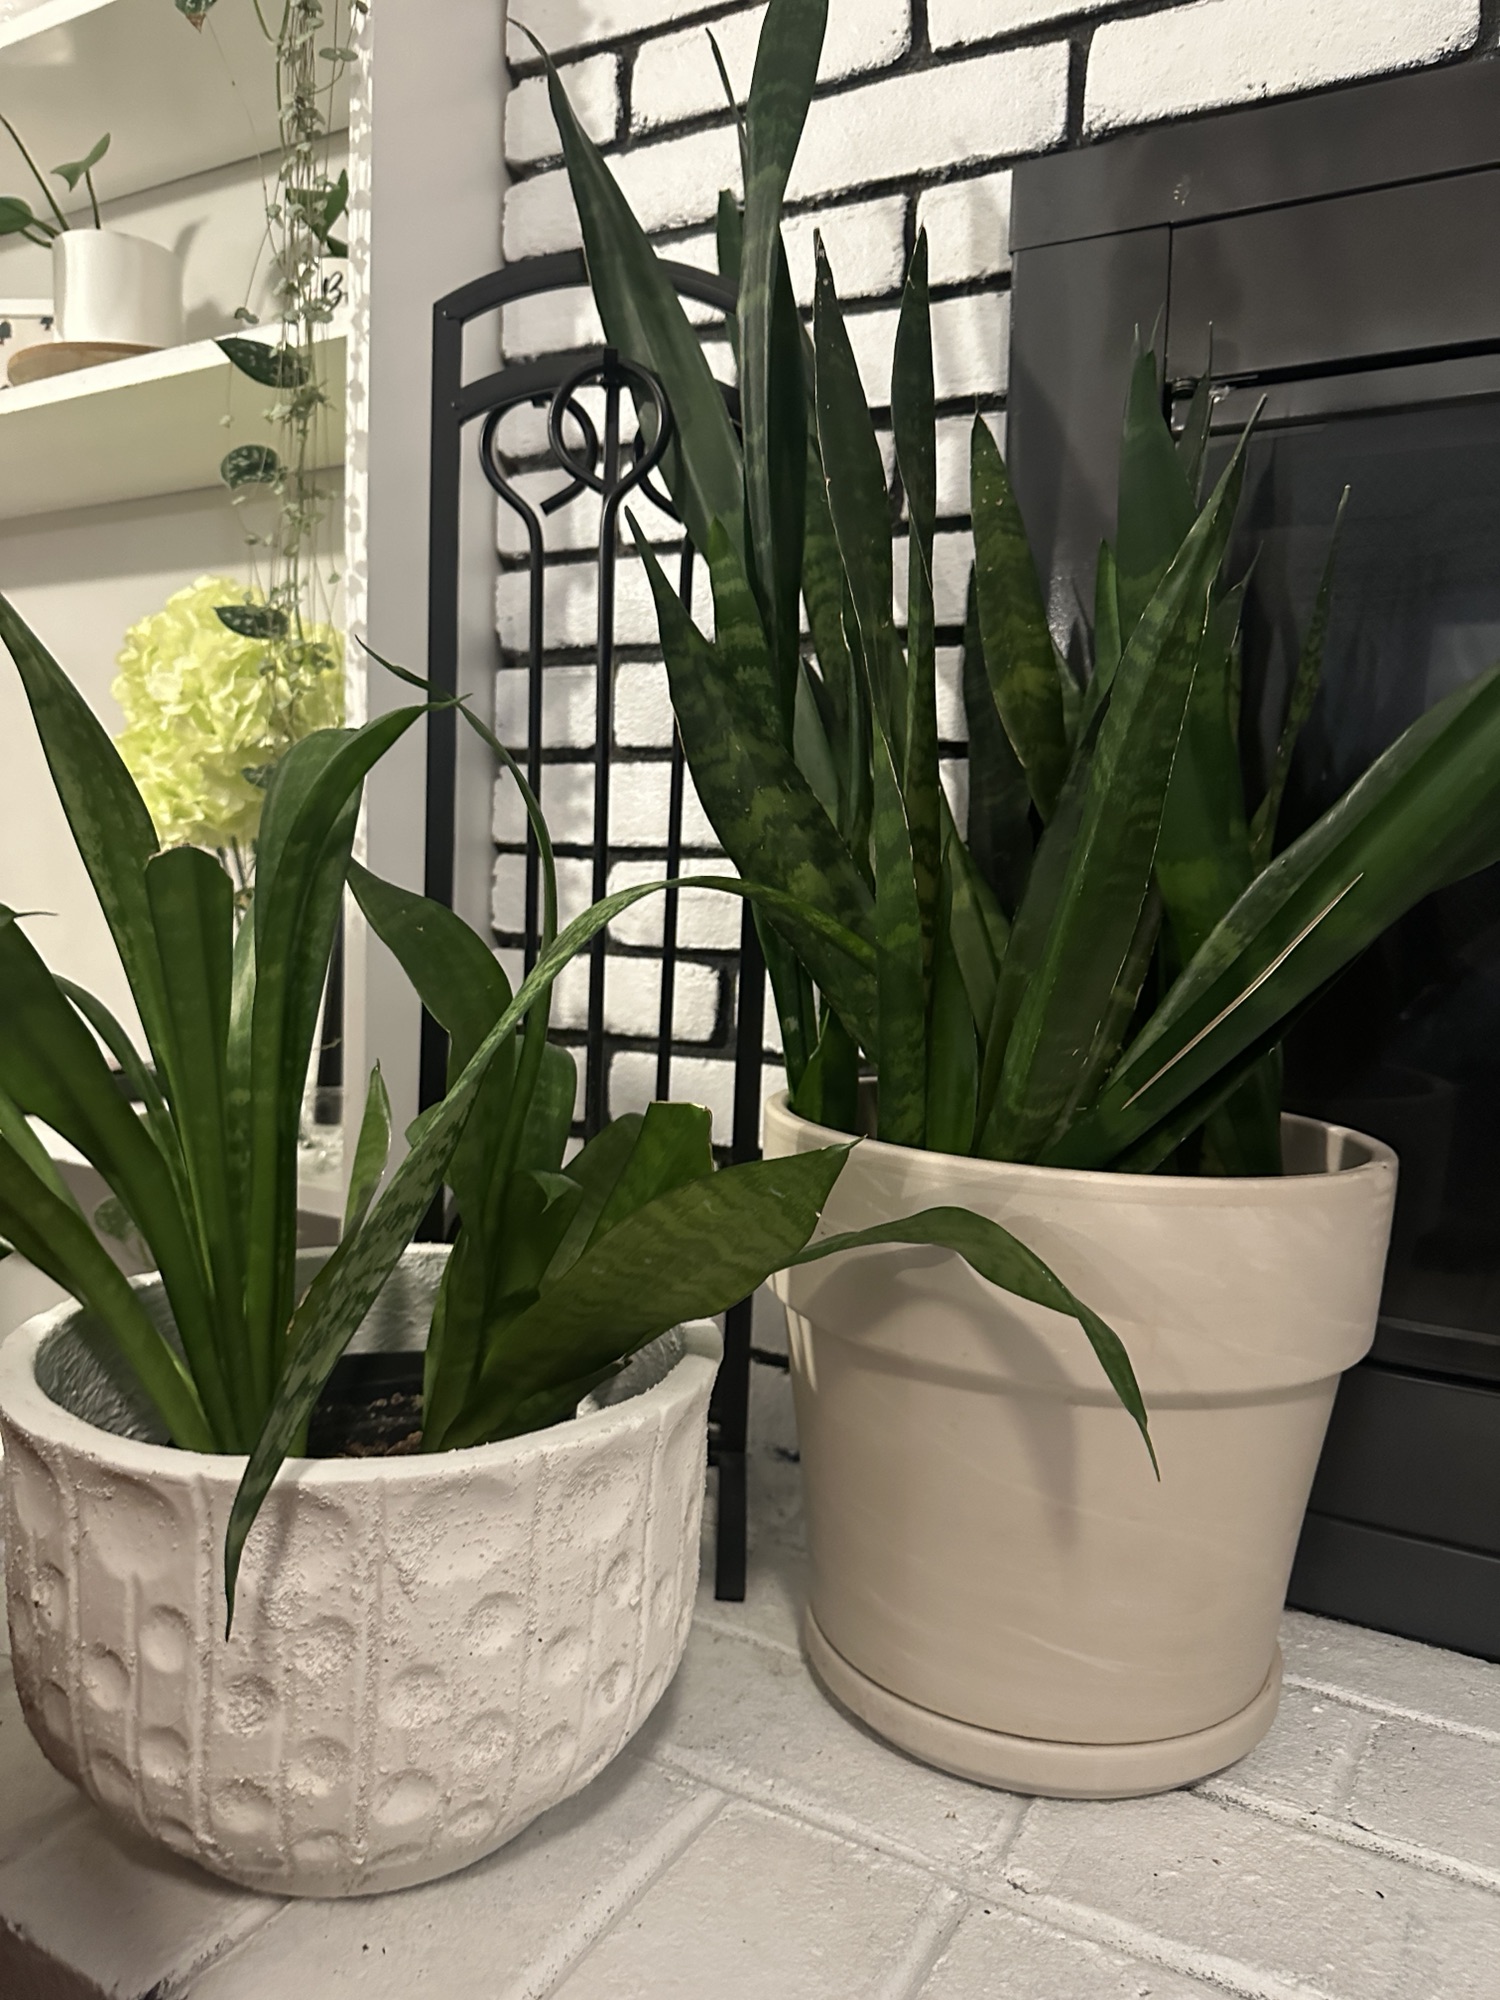
2. Choose the Right Pot
Selecting the right pot is crucial for your snake plant’s health. Pick a pot that’s only 1-2 inches larger in diameter than the current pot to avoid giving the plant too much extra space, which can lead to overwatering issues. Always ensure the pot has good drainage, as snake plants are susceptible to root rot if water accumulates.
Terracotta pots are a great choice since they’re porous and help wick away excess moisture, but any material works as long as it has drainage holes. Here’s an article all about the pros and cons of terracotta pots if you are curious: The Pros and Cons of Using Terracotta Pots
3. Select the Appropriate Soil Mix
Snake plants thrive in a well-draining soil mix that mimics their natural environment. Cactus or succulent potting mixes are perfect because they prevent water from sitting in the soil, which is key to avoiding root rot. You can also create your own mix by combining regular potting soil with perlite or sand to improve aeration. Before repotting, make sure the soil is dry to avoid damaging the roots during the transition.
4. Prepare Your Snake Plant for Repotting
Gently remove the snake plant from its current pot. If the plant is stuck, avoid yanking it out—squeeze the sides of the pot to loosen the soil or run a trowel around the edges to free the plant. Once out, shake off excess soil from the roots, and inspect them for any signs of rot or damage. Healthy roots should be firm and white or light yellow.
If you spot mushy, black, or brown roots, trim them off with sterilized scissors or pruning shears to prevent further decay. Those can be a sign of my worst nightmare- root rot! So approach with caution and cut off any roots that are mushy or too dark.
5. Fill the New Pot with Soil
Add a layer of fresh soil mix to the bottom of the new pot. This base layer should be enough to position the plant so that it sits at the same depth it was in its previous pot. The goal is to have the plant’s root ball centered in the pot, with the soil line just below the rim of the pot. Adding too much soil at the base can cause the plant to sit too high, leading to poor stability, while too little soil can bury the plant too deeply, risking rot.
6. Position the Plant and Fill in Around It
Place your snake plant in the center of the pot, holding it steady while you fill in the sides with more soil. As you add soil, gently press it down to remove air pockets but avoid compacting it too much, which can restrict drainage and airflow. Ensure that the plant remains upright and that the soil level is even with where it was previously. After filling, lightly tap the pot to settle the soil, and add more if necessary until the plant feels stable.
7. Water Sparingly After Repotting
Once repotted, it’s crucial to give your snake plant time to adjust. Wait about a week before watering, allowing any damaged roots to heal and reduce the risk of rot. When you do water, soak the soil thoroughly, letting the excess drain out, and then wait until the soil is completely dry before watering again. Snake plants prefer being on the dry side, so it’s better to err on the side of underwatering rather than overwatering, especially right after repotting.
8. Return Your Plant to Its Ideal Spot
Place your snake plant back in its preferred location, which is typically in bright, indirect light, though snake plants are also quite tolerant of low light conditions. Avoid direct sunlight, as it can scorch the leaves. Monitor the plant over the next few weeks to ensure it’s adjusting well—look for signs of new growth, which indicates the plant is settling into its new home.
Then you should just continue your usual care routine, keeping an eye on watering frequency as the plant acclimates. For more tips on actually growing and keeping alive snake plant head to this article next: Snake Plants: How to Care For Them!
Following these eight steps will help ensure your snake plant transitions smoothly to its new pot, setting it up for continued healthy growth!
Talk Plant To Me
If you enjoyed this article on How To Repot Your Snake Plant then you probably (hopefully!) will enjoy these articles as well:
