Potatoes are the most versatile and honestly useful foods that you can grow in my humble opinion. Potatoes are used in the vast majority of cultures recipes, are shelf stable way longer than others, hold up to being frozen and cooked… really they are a dream for anyone who wants to use their garden to have fresh and delicious ingredients to cook with.
Or, if you are more practical and are just looking to grow something that can be held on to for a long time after harvesting season is over. Or maybe you just really like potatoes. Which, honestly, describes me the best out of the options.
But enough rambling about why you want to grow potatoes because you are reading this which means you already have the interest- so let’s get into my essential steps for easily growing potatoes and I share some helpful bonus tips at the end as well. Let’s get into it!

**Stock image! Knowledge gained from years working in the agriculture/greenhouse industry and related plants/research and all opinions below are my own!
Growing Potatoes With Ease: A Complete Guide
Steps and tips for growing potatoes in your garden:
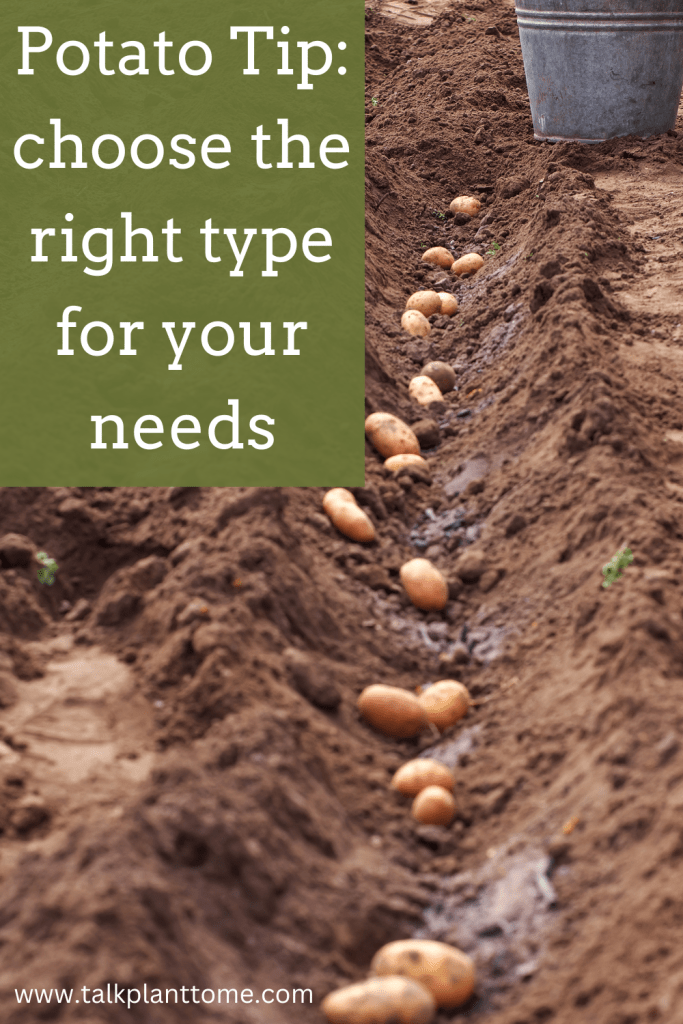
Step 1: Choose the Right Potato Variety
First things first, let’s talk about picking the right type of potato.
There are SO many varieties out there, from the fluffy Russets to the Reds and the all-rounder superstar: Yukon Golds. Consider what you like to eat and check what grows best in your area. Hint: google your town name + garden zone to find your zone if you don’t know it yet. Then search that zone + best potato variety!
You’ll want to start with “seed potatoes,” which aren’t actually seeds but small potatoes or pieces with several eyes (the little sprouts aka the things that grow off potatoes that tell you they have been sitting in your pantry way too long). You can get these from a garden center or an online plant nursery to ensure they’re disease-free. Just any potato from the grocery store might carry diseases that could also spread to other things in your garden!
Step 2: Chitting Your Potatoes
Before you plant your potatoes, give them a head start by chitting (weird word, I know) them. This just means letting them sprout a bit. Place them in a cool, light place (but not in direct sunlight) and let them develop sprouts.
Egg cartons make for awesome chitting trays. The sprouts should be short, stout, and green. Don’t let them get to the point of turning brown and growing long though! Chitting can really help speed up the growing process once they hit the soil.
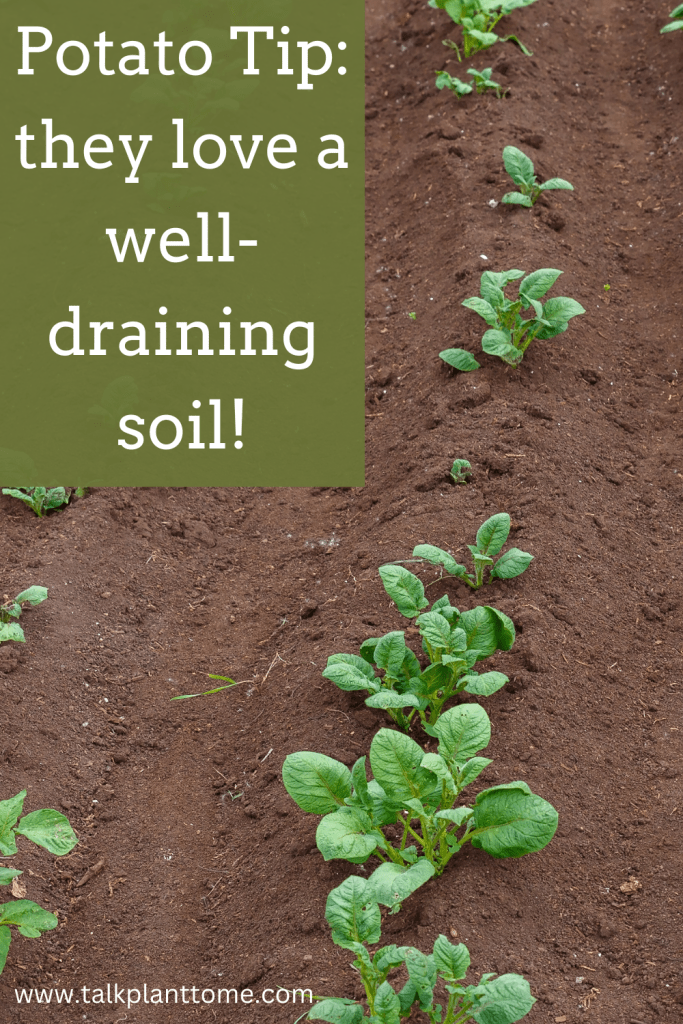
Step 3: Prep Your Planting Spot
Potatoes aren’t too picky, but they do love sunlight and well-drained soil. Choose a sunny part of your garden and dig it over well. If you’re short on space or have tough soil, potatoes do amazingly well in large pots, buckets, or really any container you might want to garden in.
But here is a key – make sure whatever you use has good drainage to prevent waterlogged spuds. They don’t love that and won’t thrive if waterlogged.
Step 4: Planting Time
When the frost has passed then it is time for the real fun to begin- planting!
But ensure that the ground has warmed up enough aka the day right after what you believe to be the last frost the ground is probably still to chilly for the potatoes. Which, if the soil is too cold, will result in the growth never starting!
Plant the seed potatoes about 4 inches deep and about 12 inches apart, with the sprouts pointing upwards. If you’re planting in rows, keep each row about 3 feet apart to give the plants room to flourish.
Step 5: Earth Up Your Potatoes
As your potato plants grow, you’ll want to ‘earth them up’. Which honestly is a fun part of potato gardening! But back to the point- earth them up means piling more soil around the stems as they grow. This helps avoid any potatoes forming near the surface, which can turn green if exposed to light. Just gently heap soil around the base during the growing season.

Step 6: Water and Care
Potatoes need a bit of moisture, so give them a drink during dry spells. However, be careful not to overwater, as too much moisture can lead to rotten potatoes. A good rule of thumb is to water deeply once a week if there hasn’t been much rain. And as we talked about before, if the soil is well-draining then you aren’t as likely to have water just sitting around the roots leading to rot and mushy roots instead of delicious potatoes!
Step 7: Harvesting Your Potatoes
The best part of all!
For new potatoes, harvest them as soon as the flowers bloom. For main crops, wait until the foliage starts to die back, then dig around carefully with a fork to lift them out of the soil. It’s like hunting for buried treasure 🙂
Lastly, I do want to share some additional tips and tricks that might help you out on this wonderful potato growing journey-
Helpful Tips For Growing Potatoes:
- Rotate your crops each year to prevent disease! It’s also helpful for your soil because different types of crops use different nutrients in the soil, thus allowing the soil to recharge certain nutrients not being used by particular plants each year.
- Use straw as a mulch to keep weeds away (well as much as possible, me and weeds are personally enemies) and the soil moist as well which will help the potatoes under the surface get the water that is needed for them to grow into their delicious selves.
- Be on the lookout for pests like potato beetles (gross I know). Handpick them off plants or use an environmentally friendly pesticide if necessary.
And there you have it my friends!
With these steps and tips, you’ll be on your way to harvesting your very own homegrown potatoes. There’s something incredibly satisfying about cooking up a meal with ingredients from your own garden, and potatoes are so ridiculously versatile in the kitchen.
So, happy gardening, and I can’t wait to hear about your potato adventures!!
Talk Plant To Me
If you enjoyed this article on Growing Potatoes With Ease: A Complete Guide then you probably (hopefully!) will enjoy and find these articles helpful as well:
